- Ginazhao@wanglumaterial.com
- Mon - Sat at 7:00AM to 9:00PM
Inquiry
Form loading...
-
E-mail
-
E-mail

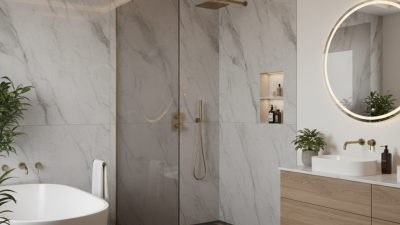
Modern bathrooms are moving beyond plain ceramic tile and predictable white walls. A well-chosen Shower Wall Panel can create a cleaner, calmer, and more practical bathing space. Imagine a warm stone pattern behind a brushed brass shower, or a matte white panel reflecting soft morning light. These surfaces reduce grout lines, simplify cleaning, and make small bathrooms feel more continuous.
Mike Holmes, a respected Canadian contractor and renovation expert, often uses the principle, “Make it right.” That advice matters here. A beautiful panel cannot compensate for poor wall preparation, weak sealing, or careless trimming. The best designs begin with accurate measurements, moisture-resistant backing, and manufacturer-approved installation methods. Check the panel thickness, corner profiles, adhesive requirements, and warranty conditions before choosing a style.
This guide explores modern Shower Wall Panel ideas for different bathroom sizes, budgets, and design moods. It considers marble effects, concrete finishes, fluted textures, solid colors, and practical storage niches. Some options look luxurious in photographs but may reveal seams under strong lighting. Others clean easily but feel visually cold. That trade-off deserves attention.
There is no perfect panel for every home. Uneven walls can complicate installation. Dark finishes may show water marks. Glossy surfaces can expose fingerprints quickly. Still, thoughtful planning can produce a durable and attractive result. The goal is not merely a fashionable shower. It is a surface that works beautifully on an ordinary, busy morning.
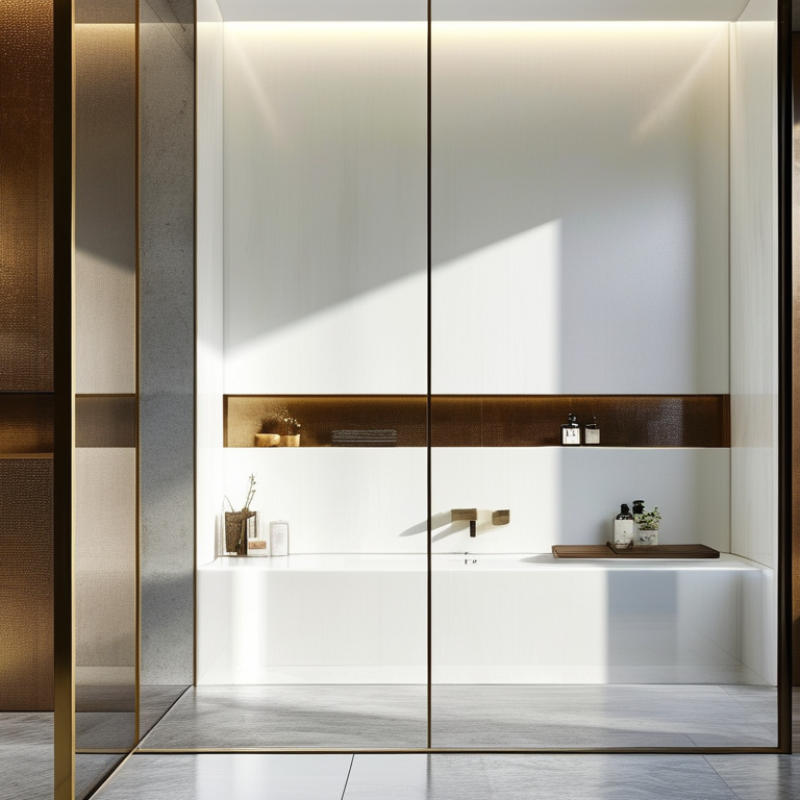
Shower wall panels are large, water-resistant surfaces designed to cover bathroom walls. They can be made from acrylic, PVC, laminate, or composite materials. Unlike traditional tiles, panels have fewer joints and create fewer places for soap residue to collect. Cleaning usually takes only a soft cloth and a mild, non-abrasive cleaner. In a recent bathroom update, I found that a matte white panel made a narrow shower feel brighter. It also reduced the visual clutter caused by many grout lines.
The main benefit is practical protection. Properly sealed panels can limit water entry behind the wall surface. However, they are not a replacement for sound waterproofing underneath. Accurate measurements matter, especially around valves, niches, and corners. A small cutting mistake may leave an unattractive gap. Professional installers often check wall levels before fitting panels, because uneven surfaces can create pressure points or visible bends. Good ventilation remains important, even with water-resistant materials.
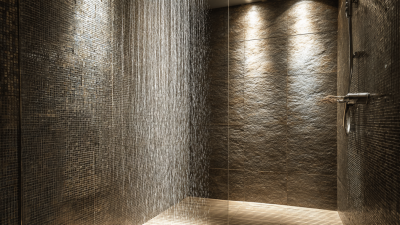
Design options can include stone-like textures, vertical lines, soft concrete effects, or simple solid colors. Dark panels look dramatic, but they may show mineral spots more clearly. Glossy finishes reflect light, although they can reveal fingerprints. I once preferred a realistic textured surface, then noticed it required more wiping than expected. That experience changed my view. Attractive details should still support easy maintenance, safe installation, and comfortable daily use.
| Panel Material / Idea | Modern Design Direction | Typical Panel Size | Seam Level | Maintenance | Relative Cost | Main Benefits | Important Considerations |
|---|---|---|---|---|---|---|---|
| Acrylic Panels | Glossy white, soft neutral colors, or marble-look surfaces for a bright, streamlined bathroom. | Commonly about 4 × 8 ft; larger formats may be available. | Low; large sheets reduce the number of joints. | Low; use a non-abrasive cleaner and a soft cloth. | Low to medium | Lightweight, easy to clean, moisture-resistant, and faster to install than many tiled systems. | Can scratch or discolor if exposed to harsh chemicals, excessive heat, or abrasive tools. |
| PVC Composite Panels | Stone, concrete, wood-grain, or geometric patterns for an affordable contemporary accent wall. | Often available in approximately 2 × 8 ft or 4 × 8 ft sheets. | Low to medium, depending on sheet dimensions and trim details. | Low; smooth surfaces have fewer grout lines than tile. | Low | Lightweight, budget-friendly, water-resistant, and available in many decorative finishes. | The substrate must be flat; unsupported edges and poorly sealed joints can allow moisture intrusion. |
| Solid-Surface Panels | Minimalist monochrome walls, subtle veining, or a seamless spa-style shower enclosure. | Commonly fabricated in large custom sizes; exact dimensions depend on the layout. | Very low; inconspicuous joints can be color-matched. | Low; nonporous surfaces are easy to wipe clean. | Medium to high | Durable, repairable in many cases, hygienic, and suitable for integrated shelves or seats. | Heavier than plastic-based panels and usually requires careful measuring and professional handling. |
| Porcelain Slab Panels | Large-format marble, travertine, concrete, or dark stone effects with a luxury architectural look. | Large slabs may exceed 3 × 8 ft; sizes vary by manufacturer and fabrication capability. | Very low compared with standard tile, although joints remain at slab connections. | Low; porcelain is nonporous and generally does not require sealing. | High | Highly resistant to water, stains, heat, and scratching when properly installed. | Heavy and difficult to cut; professional transport, fabrication, and installation are typically needed. |
| Large-Format Ceramic Tile | Modern grid layouts, muted colors, textured surfaces, or matching floor-and-wall designs. | Common formats include 12 × 24 in and larger rectangular sizes. | Medium; fewer joints than small mosaic tile but still requires grout maintenance. | Medium; grout should be cleaned regularly and sealed when required by the grout type. | Medium | Broad design flexibility, strong wear resistance, and easy coordination with other bathroom surfaces. | Requires accurate substrate preparation, waterproofing, tile setting, and properly detailed movement joints. |
| Textured 3D Panels | Fluted, ribbed, wave, or dimensional feature walls used mainly on the shower’s focal wall. | Typically supplied as modular panels or tiles; dimensions vary by design. | Medium to high, depending on the modular pattern. | Medium; deep textures can collect soap residue and require detailed cleaning. | Medium | Adds visual depth, helps create a feature wall, and can complement simple adjoining panels. | Choose only products rated for wet areas; texture, edges, and joints must be fully sealed as specified. |
| Glass Wall Panels | Clear, frosted, tinted, or back-painted glass for a light, open, and highly contemporary appearance. | Custom fabricated; maximum dimensions depend on glass thickness, access, and safety requirements. | Very low; joints are limited to panel connections and perimeter seals. | Medium; water spots are visible and benefit from regular squeegeeing. | High | Reflects light, visually enlarges compact bathrooms, and eliminates grout lines. | Must use safety-rated glass and appropriate hardware; accurate measurements are essential. |